

I have been wanting to make my own stamps for a while now. I made some teapot sketches recently and thought they would be perfect to make my own stamps! You can see the designs HERE. Making your own stamps is fairly easy.
You will need:
Carving Rubber - I used Speedball - Speedy carve
Carving tools
Tracing Paper
Your design
Ink pad
1) GATHER YOUR TOOLS
The carving rubber is very easy to work with. Be careful when using the carving tool. The blades are very sharp.


2) TRACE YOUR DESIGN

3) TRANSFER YOUR DESIGN
Next you will transfer your design on to the carving rubber. I did not need to apply too much pressure when doing this. It transferred on to the Speedy carve easily. You can use your fingernails, or the back of a pencil or your carving tool. Anything that will help burnish the back of your design.
At this point remember, if you are cutting words or copy, they will read in reverse.
At this point remember, if you are cutting words or copy, they will read in reverse.

4) START CARVING
Now the fun stuff. Start carving! The easiest way to start carving is from the outer edge of the design. Keep in mind that we are cutting away the negative part of the design. (The part you don't want stamped on the surface) You can use the blades as per your design. They are available in various sizes.

I cut out all of the negative space. I tried to make it as even as possible.
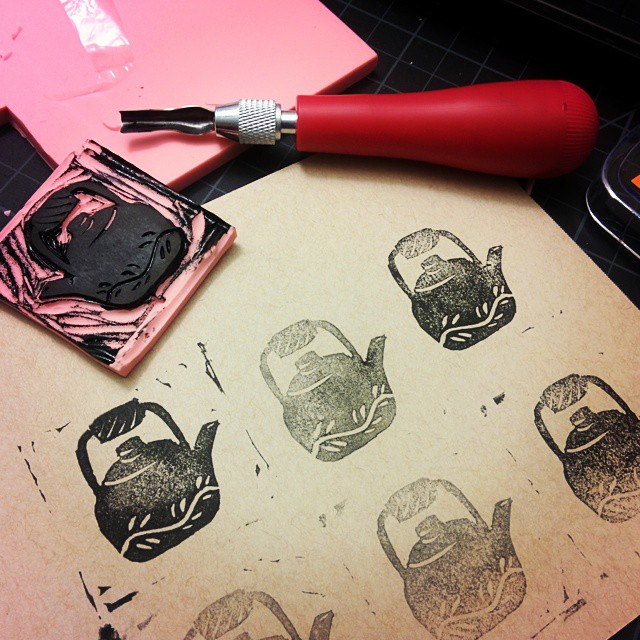
5) TRY OUT THE STAMP
Once you are satisfied with your stamp, try it out! Before using the ink pad blow off any rubber dust that might be stuck to the stamp.

You can make any adjustments that you feel are needed for the stamp. Keep carving until you are happy with your stamp.
And, there you go! All done. So easy!
If you want, you can mount your stamps on to a wooden block.
Next, I am going to carve out some more designs and make some Kitchen Art Prints and some Tea party invitations! Coming up soon on my ETSY store!
Next, I am going to carve out some more designs and make some Kitchen Art Prints and some Tea party invitations! Coming up soon on my ETSY store!
No comments:
Post a Comment